
Overview
PRISMA sends documents for electronic signature, such as contracts, through SELISE Signature. You receive an email invitation, open the document in your browser and sign it there. You don't need a SELISE account to sign.
| Signature type | What you need |
|---|---|
| Qualified Electronic Signature (QES) | A one-off identity verification with the trust service provider Swisscom, then your mobile device each time you sign. A QES is legally equivalent to a handwritten signature. |
Keep your mobile device ready whenever you sign. For a QES verification, you also need a valid passport: not all national ID cards are accepted.
Opening the Document
To open a document for signing, do as follows:
- Open the email from SELISE Apps (apps@selise.io) and copy the link in it.
- Paste the link into your browser's address bar. This avoids problems between some email programs and browsers.
The invitation email from SELISE Apps, with the document link highlighted.
- The first time you use SELISE Signature, set a personal password, or click Skip Password and confirm. With a password, you can log in later to see and download your signed documents.
- Optional: Watch the tutorial on signing a document, or skip it.
If you skipped the password and want to set one later, see Setting a New Password below.
Signing with a Qualified Electronic Signature
Placing Your Signature
To place your signature in the document, do as follows:
- Click Review Document & Sign at the top right, or click the signature field in the document.
The document in SELISE Signature, with Review Document & Sign at the top right.
- Click the highlighted signature field.
The signature field in the document.
- In Your signature, choose how to create your signature: select a saved signature under Saved, upload a PNG file under Upload, draw it with your touchpad under Draw, or type your name and pick a font under Type.
- Click Use this. Your signature appears in the signature field.
The Your signature dialog, with one tab for each way to create a signature.
- Click Finish at the top right, then confirm.
The signed field, with Finish at the top right.
Verifying Your Identity (First Time Only)
The first time you sign with a QES, Swisscom verifies your identity. This takes place in the Nect Wallet app (Germany) or the IDnow app (Switzerland), and takes a few minutes.
Before you start, have your passport and mobile device ready. Swisscom then asks you to choose how you confirm your signatures: with the MobileID app, or with a password and an OTP sent by SMS. PRISMA recommends the MobileID app. If you choose it, download and activate it before you start.
Keep the browser window with the document open while you complete the verification.
To verify your identity, do as follows:
- Follow the steps in Placing Your Signature above, up to clicking Finish.
- In Update Profile, confirm or enter your Mobile Number, then click Save.
The Update Profile dialog, where you confirm your mobile number.
- In Identification Required, click Swisscom Identification. The Swisscom identification page opens.
The Identification Required dialog, with the Swisscom Identification link.
- Choose how to start the identification: scan the QR code with your mobile device's camera, or enter your mobile number to receive the link by SMS.
The identification page, with the two ways to start on your mobile device.
- Install the Nect Wallet app from Google Play or the App Store, if you don't have it yet.
- Open the app, read and accept its terms and conditions, then tap I understand and consent.
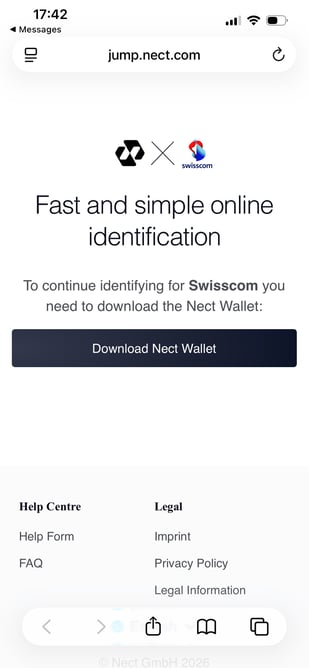
The Nect Wallet terms and conditions, with I understand and consent at the bottom.
- Follow the instructions in the app. These include photographing your passport and recording a short selfie video.
Do not close the Nect Wallet app while it processes your data. If you close it, the check is cancelled and you need to start again.
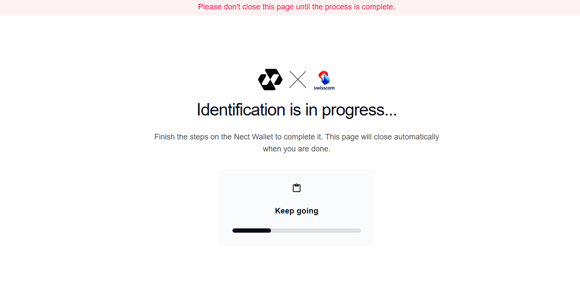
The Nect Wallet app while it processes your data.
- When the app has checked your passport, it forwards you to Swisscom. Set a password and confirm your mobile number for future signatures, then confirm with the code you receive by SMS or in the MobileID app.
- Back in the browser, in Identification Required, select I have completed the identification process and wish to continue and click Continue to Sign.
Swisscom can take up to 15 minutes to update your identification after confirming it. You only verify your identity once: for later documents, go straight to Signing the Document.
If you change your mobile device or SIM card, Swisscom's stored data no longer matches, and you need to verify your identity again.
Signing the Document
To sign a document with a QES, do as follows:
- Follow the steps in Placing Your Signature above, up to clicking Finish and confirming.
- Confirm the signature on your mobile device. If you chose the MobileID app, approve the signature in the app. If you chose password and SMS, enter the password you set with Swisscom and click Next, then enter the OTP you receive by SMS and click Next.
- After approval, click Next, or wait for the window to close.
SELISE Signature places your signature on the document and shows a green tick after your name. To close the document, click the X at the top left.
Setting a New Password
If you skipped the password or have forgotten it, do as follows:
- On the SELISE Signature login page, click Set new password (Forgot Password).
- Enter your email address, complete the captcha and click Submit.
- Click Back, then open the password reset email and click the link in it.
- Enter a new password that meets the requirements shown and click Change Password.
- Click Login, then enter your email address and new password and click Sign In.
You can now log in to SELISE Signature to see and download your signed documents.